FPS juego en 1ª persona ✅
VIDEO FPS TUTORIAL
FPS NUEVO INPUT SYSTEM EN ESPAÑOL
En los diferentes 18 videos de esta lista encontrarás como desarrollar un FPS con el nuevo input system de UNITY:
Disparar + minimap
Enemigo patrullar + sistema de vida
AudioManager + agujero disparo
Sistema de abrir puertas
Balancear el arma
Sonido de pasos en todas las superficies
Sistema Headbob
Sistema para cambiar el arma del jugador
Sistema para detectar con la mirilla a los enemigos
Cambiar de escena
Sistema para agacharse
Cómo crear una pistola de agarre
Crear un efecto Sniper Scope con zoom
Interactuar con puertas, botones, llaves, etc.
Recoger y mover objetos con Physics.
Lanzar granadas
Sistema para recargar el arma
Enemigo AI + vida
Aprende a DISPARAR🔫 con el nuevo Input System de Unity(FPS)
Este es el enlace a la carpeta con los dos primeros videos de esta serie:
https://drive.google.com/file/d/1k4wZROa2Sax-l3W8dAja1WZdz8g7-kId/view?usp=share_link
Código del 1º tutorial de youtube:
En el código de StarterAssetsInputs
public bool shoot;
public void OnShoot(InputValue value)
{
shoot = value.isPressed;
}
El código del script Shoot
using System.Collections;
using System.Collections.Generic;
using
UnityEngine;
using StarterAssets;//new
public class Shoot
: MonoBehaviour
{
private StarterAssetsInputs
_input;
[SerializeField]
private GameObject bulletPrefab;
[SerializeField]
private Transform bulletPoint;
private float shootRate = 0.3f;
private float
shootRateTimer = 0;
public
float forceBullet = 3000;
public GameObject
muzlePrefab;
private Animator animator;
// Start is called
before the first frame update
void Start()
{
_input =
transform.root.GetComponent<StarterAssetsInputs>();
animator = GetComponent<Animator>();
}
// Update is called once per frame
void
Update()
{
if(_input.shoot)
{
ShootGun();
_input.shoot = false;
animator.SetBool("Fire",true);
}
}
void ShootGun()
{
if(Time.time > shootRateTimer)
{
GameObject bullet =
Instantiate(bulletPrefab,bulletPoint.transform.position,
bulletPoint.rotation );
bullet.GetComponent<Rigidbody>().AddForce(bulletPoint.forward *
forceBullet);
shootRateTimer = Time.time + shootRate;
muzlePrefab.SetActive(true);
StartCoroutine(Muzle());
Destroy(bullet,10f);
}
}
IEnumerator Muzle()
{
yield return new WaitForSeconds(0.2f);
animator.SetBool("Fire",false);
muzlePrefab.SetActive(false);
}
}
Duodécimo video de la lista new Input te voy a mostrar cómo crear una pistola de agarre que se puede utilizar en cualquier juego de primera con el nuevo Input System.
using System.Collections;
using System.Collections.Generic;
using
UnityEngine;
using UnityEngine.InputSystem;
public class
GrapplingGun : MonoBehaviour
{
[SerializeField] private LineRenderer _lineRenderer;
[SerializeField] private CharacterController _controller;
[SerializeField] private Transform _grappling;
[SerializeField] private Transform _grapplingPos;
[SerializeField] private Transform _grapplingEndPoint;
[SerializeField] private Transform _handPos;
[SerializeField] private Transform _playerBody;
[SerializeField] private LayerMask _grappleLayer;
[SerializeField] private float _maxGrappleDistance;
[SerializeField] private float grappleSpeed;
[SerializeField] private Vector3 offset;
private
bool isShooting, isGrappling;
private Vector3
_grappePoint;
public PlayerStarter
inputActionGrapling;
private void Awake()
{
inputActionGrapling = new PlayerStarter();
}
private void Start()
{
isShooting = false;
isGrappling = false;
_lineRenderer.enabled = false;
}
public void OnEnable()
{
inputActionGrapling.Enable();
}
public void OnDisable()
{
inputActionGrapling.Disable();
}
private void Update()
{
bool isKeyboardG =
inputActionGrapling.Player.Grappling.ReadValue<float>() > 0f;
if (_grapplingPos.parent == _handPos)
{
_grapplingPos.localEulerAngles = Vector3.zero;
_grapplingPos.localRotation = Quaternion.Euler(new Vector3(90, 0, 0));
}
if(isKeyboardG)
{
ShootGrapple();
Debug.Log("Dispara el gun grappling");
}
if
(isGrappling)
{
_grapplingPos.position = Vector3.Lerp(_grapplingPos.position,
_grappePoint, grappleSpeed * Time.deltaTime);
if (Vector3.Distance(_grapplingPos.position, _grappePoint) < 0.5f)
{
_controller.enabled = false;
_playerBody.position = Vector3.Lerp(_playerBody.position, _grappePoint -
offset, grappleSpeed * Time.deltaTime);
if (Vector3.Distance(_playerBody.position, _grappePoint - offset) <
0.5f)
{
_controller.enabled = true;
isGrappling = false;
_grapplingPos.SetParent(_handPos);
_lineRenderer.enabled = true;
}
}
}
}
private void LateUpdate()
{
if
(_lineRenderer.enabled)
{
_lineRenderer.SetPosition(0, _grapplingEndPoint.position);
_lineRenderer.SetPosition(1, _handPos.position);
}
}
void
ShootGrapple()
{
if (isShooting || isGrappling) return;
isShooting = true;
RaycastHit hit;
Vector3
pos = Mouse.current.position.ReadValue();
Ray ray = Camera.main.ScreenPointToRay(pos);
if (Physics.Raycast(ray, out hit, _maxGrappleDistance, _grappleLayer))
{
_grappePoint = hit.point;
isGrappling = true;
_grapplingPos.parent = null;
_grapplingPos.LookAt(_grappePoint);
}
isShooting = false;
}
}
FPS JUEGO EN 1ª PERSONA
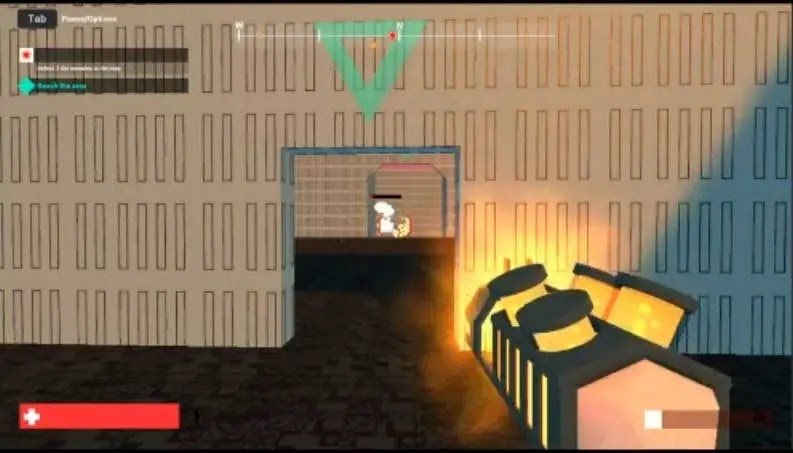
FPS Game(microgame)
¿Te gustan los juegos FPS? Hoy voy a recomendar un videojuego de Unity,
FPS ( juego en primera persona), con unos tutoriales sencillos y fáciles
de seguir. Todos los prefabs, texturas, armas, etc. que son
ncesarios para desarrollar todos los tutoriales los dara Unity
gratuitamente.
En los tutoriales aprenderás a crear niveles, las armas , los accesorios, enemigos y todolo podrás personalizar en este juego de una manera divertida y amena. Todos los complementos necesarios para el desarrollo de este tutorial son completamente gratuitos. Continuarás aprendiendo algunos de los conceptos básicos que se necesitan en Unity. Todo lo necesario para este tutorial te lo podrás descargar del Asset Store o también a través de Unity Hub en la ficha de aprender. Video del desarrollo del videojuego FPS. Recreación del juego descargatela .
Sistema de abrir puertas
completamente gratuito y compatible FPS Microgame
MULTIPLAYER FPS
Repositorio de Git Hub
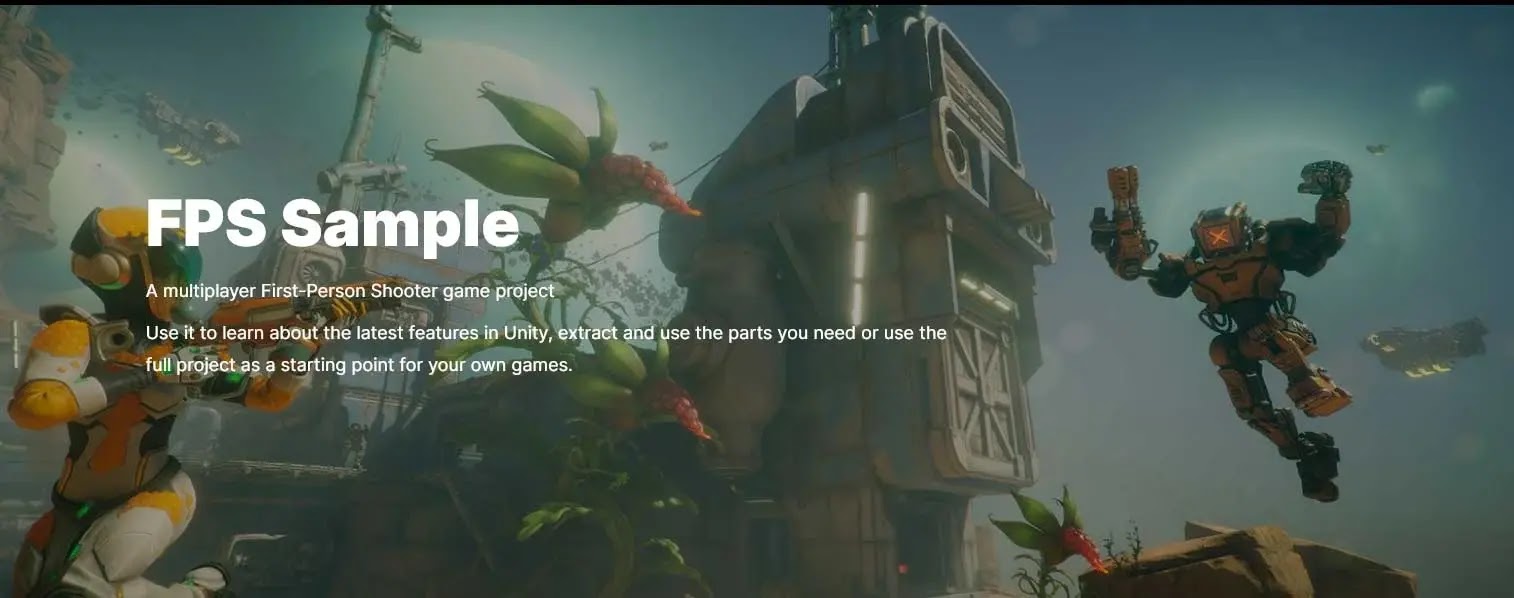
FPS Multiplayer repositorio de Unity para qué puedes ver que se puede hacer con el programa en el desarrollo de juegos FPS Multijugador, está desarrollado por un pequeño equipo de Unity Este es un juego de disparos multijugador en primera persona totalmente funcional, hecho en UnityTechnologies.
Usa HDRender Pepeline, utiliza la nueva capa de transporte de red, ECS,
Usa este increíble repositorio para ir avanzando en el desarrollo de
videojuegos FPS.Está pensado como una fuente de inspiración y
aprendizaje para desarrolladores intermedios y experimentados que
utilizan las versiones de Unity 2018.3 o Unity 2018.4 LTS que son las
que has de utilizar en este proyecto.
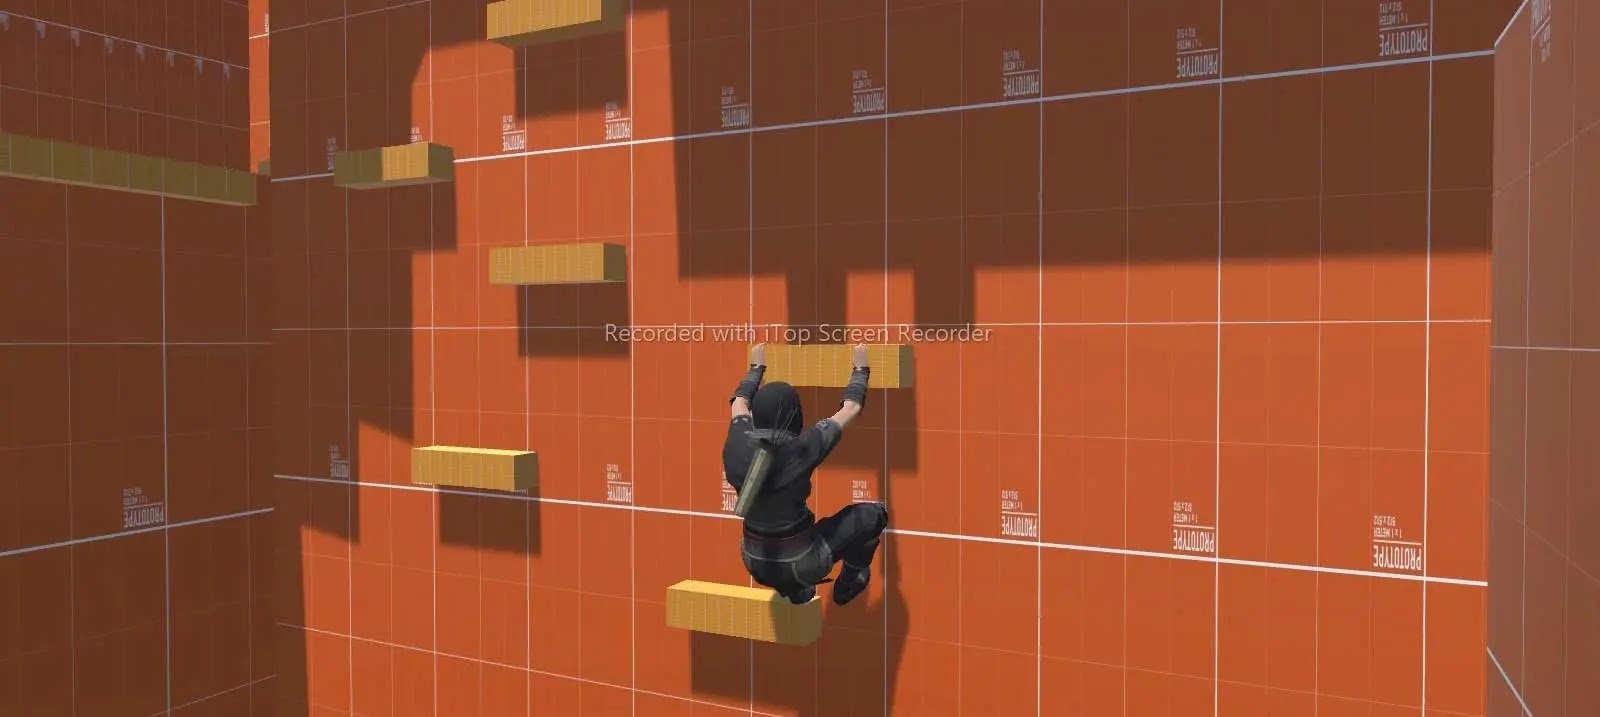
DYNAMIC PARKOUR SYSTEM
Parkour se trata del arte del desplazamiento superando obstáculos y dificultades en el camino, tanto físicos como mentales.
Dynamic Parkour System es un plugin gratuito y de código abierto
que permite a cualquier persona importar cualquier modelo y tener un
controlador que ya funciona con capacidades de parkour como en los juegos
de Assassin’s Creed.
Este plugin ha sido desarrollado(
por Eric Canela) en 4 meses para su proyecto final de Grado, no es un plugin profesional
y algunos errores pueden aparecer, Esta limitado en las animaciones,
pero seguro te resultará muy útil saber cómo ampliarlo o
entender cómo funciona para crear el tuyo con esta base.
Al descargar este código en Unity antes de comenzar deberas tener el
nuevo INPUTSYSTEM y ademas CINEMACHINE y con una versión de Unity de 2020
o superior.
Teclado
ratón GamePad
Movimiento
W, A, S,
D
Joystick izquierdo
Mueva el ratón a la derecha Joystick
Ejecutar
(Mantener pulsado)Desplazamiento izquierdo Gatillo derecho
Saltar
y subir barra espaciadora
X
(Playstation) o A (Xbox) botón
Soltar y deslizar el botón C
O
(PlayStation) o B(Xbox)
Este segundo sistema esta desarrollado
Aitor Simona
y lo encontrarás en la
Asset Store


Deja un comentario